
Cooking frozen garlic bread in an air fryer takes just 5 to 7 minutes at 350°F, giving you a crispy, buttery, and golden result every time.
If you've ever pulled a sad, soggy slice of garlic bread from the microwave and thought, "There has to be a better way," you're in the right place. After testing dozens of brands and tweaking temperatures in my own kitchen, I can confidently say the air fryer is hands down the best tool for frozen garlic bread. It's faster than the oven, easier than the stovetop, and leaves you with that perfect crunch on the outside while keeping the inside soft and loaded with melty garlic butter. In this guide, I'll walk you through the exact steps, timing, and little tricks I've learned so your frozen garlic bread comes out bakery-quality in under 10 minutes.
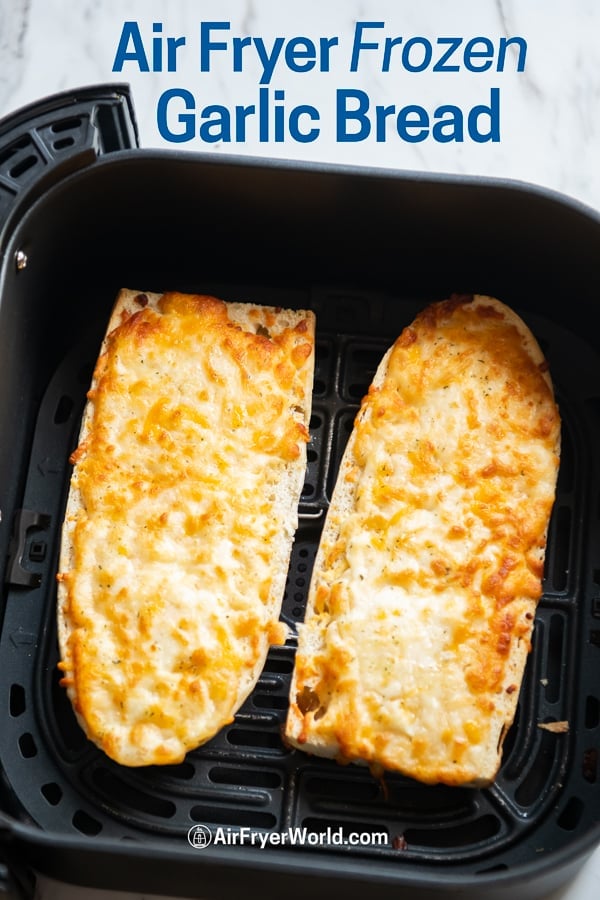
Why the Air Fryer Is the Best Way to Cook Frozen Garlic Bread
Air fryers work by circulating hot air all around the food, which mimics the effect of a deep fryer without all the oil. For frozen garlic bread, this means every edge gets evenly crisped, the cheese (if your brand has it) melts perfectly, and the buttery garlic topping doesn't burn the way it often does in a regular oven.
Here's why this method beats the alternatives:
- Speed: Ready in about 5 to 7 minutes, compared to 10 to 15 in a conventional oven.
- Even browning: No more burnt corners and cold centers.
- Energy efficient: You don't have to heat a huge oven just for a few slices.
- No preheating drama: A quick 2 minute preheat is all you need.
- Easy cleanup: Most air fryer baskets are nonstick and dishwasher safe.
If you've been settling for limp, chewy garlic bread, switching to the air fryer is a small change that makes a big difference.
What You'll Need
One of the best parts about this method is how little you need to get started. Most of the time, the frozen garlic bread comes ready to go straight from the freezer.
- Frozen garlic bread (any brand works, but thicker slices crisp up best)
- Air fryer (basket or oven style both work)
- Tongs or a spatula
- Optional: cooking spray, extra butter, parmesan cheese, or herbs
I usually keep a couple of boxes of frozen garlic bread in my freezer for busy weeknights. It's one of those pantry staples that saves dinner when I'm short on time.
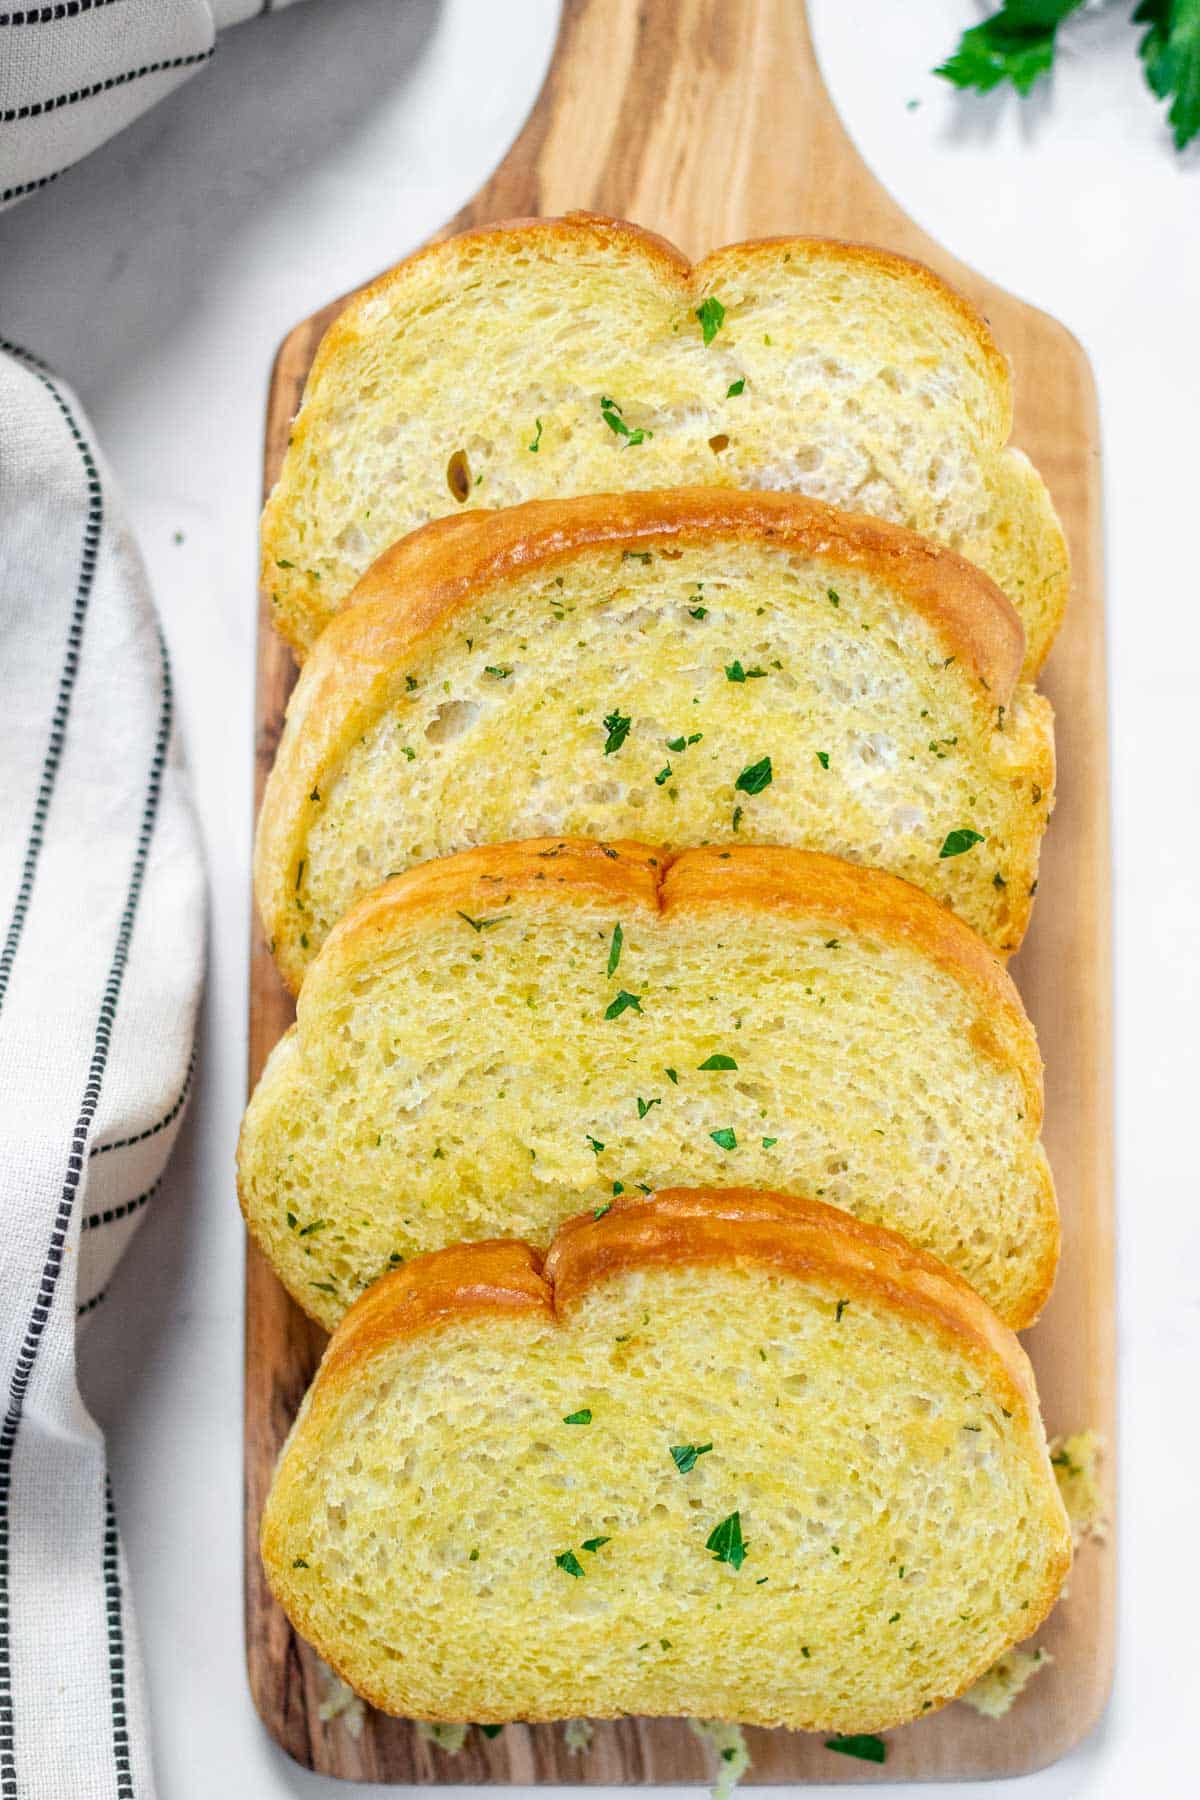
Step by Step: How to Cook Frozen Garlic Bread in an Air Fryer
Step 1: Preheat Your Air Fryer
Set your air fryer to 350°F (175°C) and let it preheat for about 2 minutes. This step helps the bread start crisping the moment it hits the basket. Skipping preheating can lead to uneven cooking, where the outside is pale and the middle is still cold.
Step 2: Arrange the Bread in a Single Layer
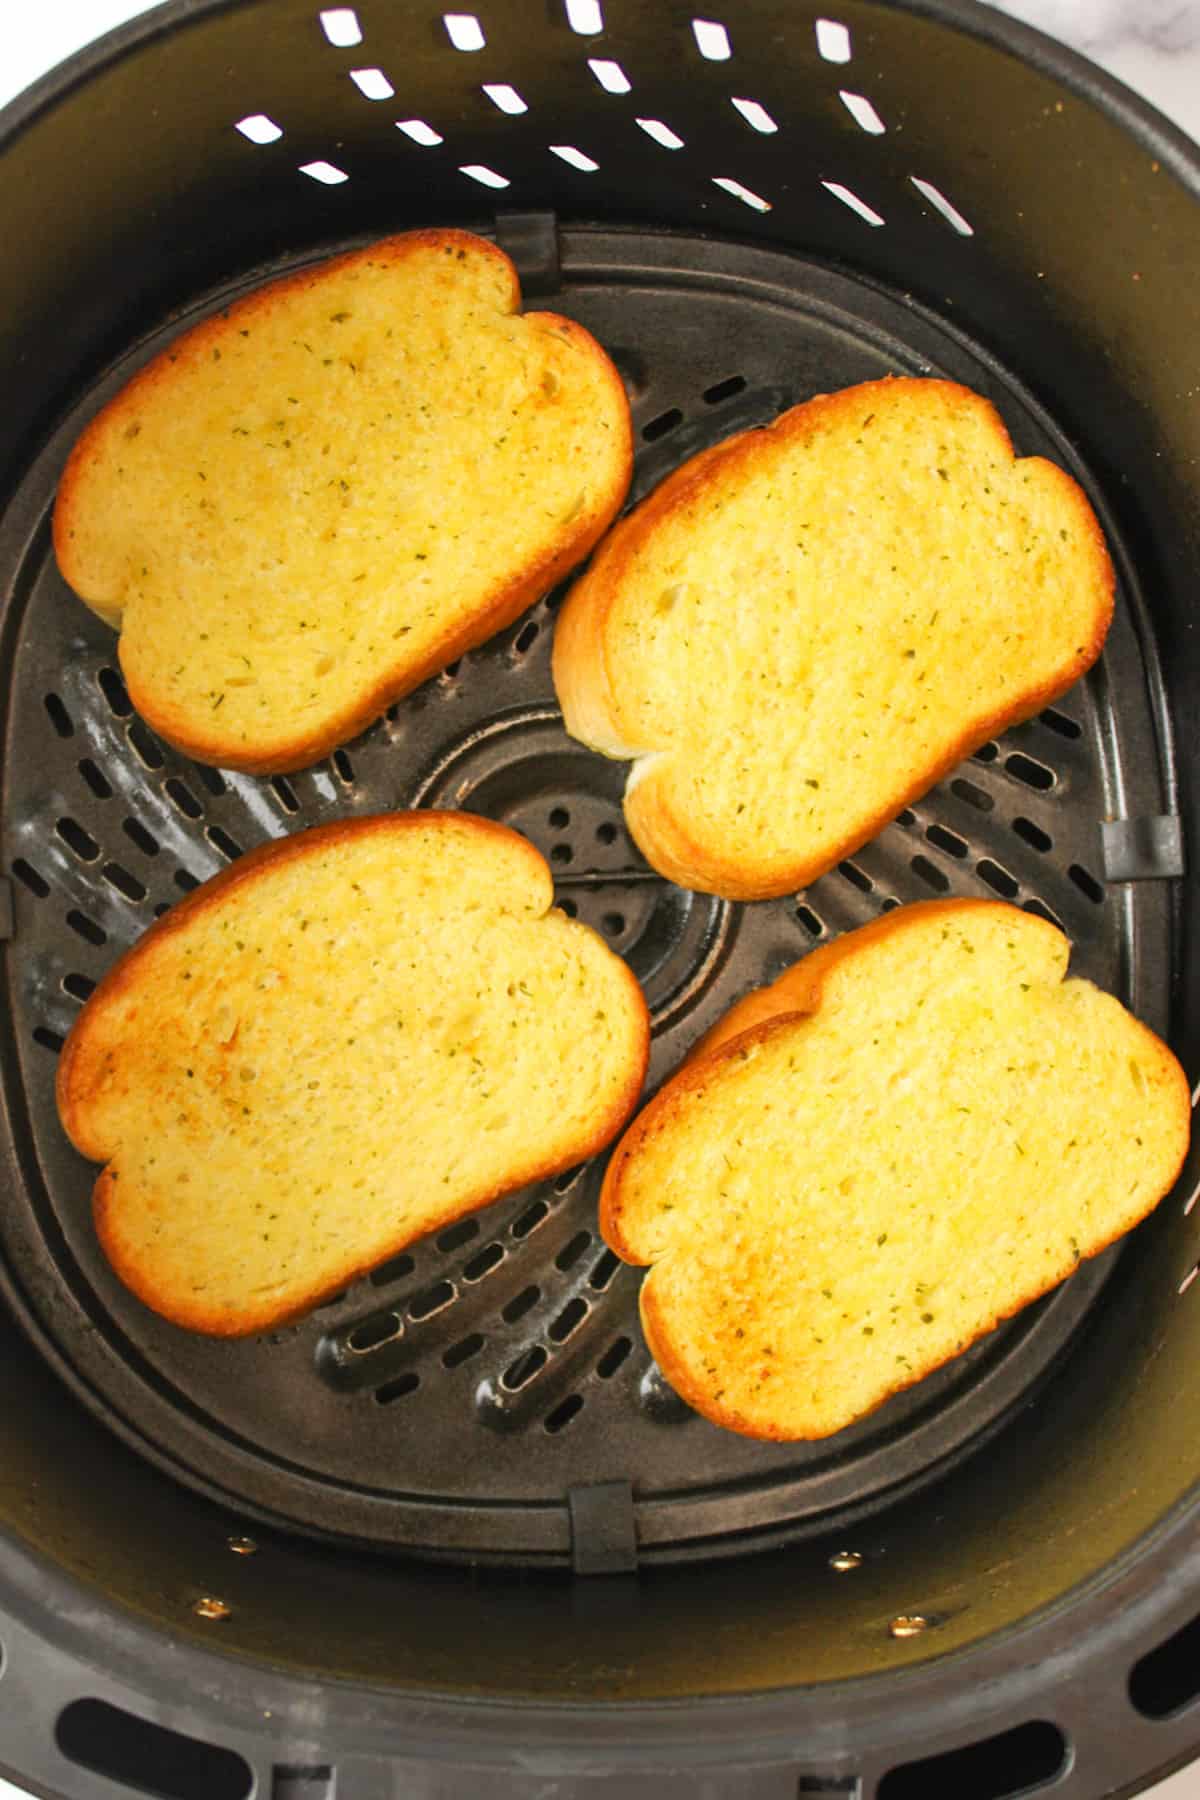
Place the frozen garlic bread slices in the air fryer basket in a single layer. Don't stack them or overcrowd the basket. Air needs to flow around each piece for that signature crunch. If you're cooking for a crowd, work in batches instead of cramming everything in at once.
Step 3: Cook for 5 to 7 Minutes
Cook at 350°F for 5 to 7 minutes, flipping halfway through. Here's a quick breakdown by thickness:
- Thin slices: 4 to 5 minutes
- Regular slices: 5 to 6 minutes
- Thick or stuffed slices: 6 to 8 minutes
Every air fryer runs a little differently, so check around the 4 minute mark the first time you try a new brand. The bread should be golden brown on top and crispy on the edges when it's done.
Step 4: Optional Finishing Touches
If you want to take your garlic bread from good to amazing, try one of these easy upgrades right after cooking:
- Brush with a little extra melted butter for shine and richness.
- Sprinkle fresh parsley or Italian herbs on top for color.
- Add a pinch of flaky salt to bring out the butter.
- Dust with grated parmesan for a savory, cheesy kick.
I started doing the parmesan trick last summer and now I can't go back. It adds a salty, nutty flavor that pairs perfectly with pasta night.
Step 5: Serve Immediately
Garlic bread is best enjoyed hot, when the butter is still melty and the edges are at peak crispness. Serve it alongside pasta, soup, salad, or just enjoy it as a snack. If you're making it ahead for a party, keep it warm in the air fryer on the "keep warm" setting or at 200°F for up to 10 minutes.

Pro Tips From My Kitchen
After making frozen garlic bread in the air fryer more times than I can count, here are the tips I tell all my friends:
- Don't thaw first. Frozen garlic bread goes straight from the freezer to the air fryer. Thawing makes it soggy and can cause the butter to separate.
- Skip the oil spray. Most frozen garlic bread already has enough butter on it. Adding oil can make it greasy rather than crispy.
- Watch the cheese. If your garlic bread has cheese on top, check it a minute early. Cheese browns faster than bread and can go from golden to burnt in seconds.
- Use parchment paper liners. If you're worried about cheese or butter dripping, place a small piece of parchment paper in the basket. Just make sure it has holes for airflow or leave space around the edges.
- Toast it twice for extra crunch. If you love super crispy bread, cook it for 5 minutes, let it rest for 1 minute, then cook for another 1 to 2 minutes.
A common mistake I made early on was cranking the temperature up to 400°F to save time. Big mistake. The outside burned before the inside was warm, and the butter pooled at the bottom of the basket. Stick to 350°F and you'll get the perfect balance every time.
Common Mistakes to Avoid
Even though air frying frozen garlic bread is pretty foolproof, a few simple missteps can ruin the result:
- Overcrowding the basket: This traps steam and makes the bread soft instead of crisp.
- Cooking at too high a temperature: Anything over 375°F risks burning the garlic topping.
- Not flipping halfway: The bottom side often gets more direct heat, so flipping ensures even browning.
- Skipping preheat: A cold start leads to uneven texture.
- Using too much spray oil: This can make the bread greasy and prevent crisping.
If you've ever ended up with garlic bread that's burnt on top and doughy in the middle, one of these mistakes was probably the culprit.
How to Store and Reheat Leftovers
On the rare occasion you have leftovers, here's how to keep them crispy the next day:
- Store in an airtight container or zip top bag at room temperature for up to 2 days.
- Avoid the fridge if possible, as it can make bread chewy.
- Reheat in the air fryer at 300°F for 2 to 3 minutes. This brings back the crunch without drying it out.
- Skip the microwave for reheating. It makes the bread soft and rubbery.
I once tried storing garlic bread in the fridge overnight and reheating it in the microwave. It was so chewy I almost threw it away. Now I always reheat in the air fryer and it tastes almost as good as fresh.
Frequently Asked Questions
Do I need to thaw frozen garlic bread before air frying?
No, you should cook it straight from frozen. Thawing causes the butter to soak into the bread, making it soggy and less flavorful. The air fryer heats the bread quickly enough that it cooks evenly without needing to thaw first.
What temperature should I set my air fryer for frozen garlic bread?
350°F is the sweet spot for most brands. It's hot enough to crisp the outside quickly but gentle enough to let the inside warm through without drying out. Higher temperatures can burn the garlic topping.
How long does it take to cook frozen garlic bread in an air fryer?
It usually takes 5 to 7 minutes at 350°F, depending on the thickness of the bread. Thin slices may be ready in 4 minutes, while thick or stuffed varieties can take up to 8 minutes. Always check around the 4 minute mark the first time you try a new brand.
Can I stack garlic bread in the air fryer?
It's best to cook it in a single layer so the hot air can circulate around each piece. Stacking traps steam and leads to uneven cooking. If you need to make a lot, cook in batches instead.
Can I add cheese or other toppings before air frying?
Yes, adding a little shredded mozzarella or parmesan before cooking works great. Just keep an eye on it, since cheese browns faster than bread. You can also add fresh herbs or extra garlic butter after cooking for extra flavor.
Conclusion
Frozen garlic bread in the air fryer is one of those simple kitchen wins that makes weeknight dinners so much easier. With just 5 to 7 minutes at 350°F, you get a crispy, buttery, golden loaf that tastes like it came straight from a bakery. No more soggy microwave bread, no more waiting 15 minutes for the oven to preheat. Once you try it, you'll never go back to the old way. So grab a box from the freezer, fire up your air fryer, and treat yourself to the best garlic bread of your life tonight. If you try this method, drop a comment below with your favorite brand or any tips you've discovered. I'd love to hear what works for you.