
Ever pulled out toast from the air fryer only to find it either pale and sad or burnt to a crisp? Getting that perfect golden-brown, evenly toasted slice can feel like a baking mystery sometimes. The trick often isn't just the bread, but finding that sweet spot for temperature and time in your appliance.
Our research shows that a precise temperature setting can make all the difference. While most toasters aim for a consistent heat, air fryers are more dynamic, and understanding their quirks is key. Let's break down how to nail air fryer toast every single time.
Quick Answer: Toasting Bread in Your Air Fryer
Yes, you can absolutely toast bread in an air fryer, and it can even be faster and give you a crispier result than a traditional toaster. The key is knowing that there isn't one single "perfect" temperature, as it depends heavily on what type of bread you're using and how you like it done. Generally, starting around 350°F (175°C) for 2 to 4 minutes is a good baseline.
Why Air Fryer Toasting Isn't One-Size-Fits-All
Air fryers work by circulating hot air rapidly, cooking food evenly and quickly. This is great for many things, but for something as delicate as toast, it means you've got more variables at play than with a dedicated toaster. A toaster has a very specific heating element designed solely for toasting, usually with a simple dial for darkness.
Your air fryer, however, is a much more versatile appliance. This versatility is its strength, but it also means that factors like the specific make and model of your air fryer, the thickness of your bread slices, and even the moisture content of the bread itself will influence the final outcome. It’s less about following a rigid recipe and more about understanding the process and making small adjustments.
How Different Breads Toast Up: Your Guide
Not all bread is created equal when it comes to toasting, and this is especially true in an air fryer. The different densities, sugar content, and moisture levels mean some types will brown faster or require slightly different approaches. Mastering these nuances means you’ll get the best results, whether you’re craving a quick breakfast or a crunchy companion for your soup.
Sourdough, White, Whole Wheat, and More
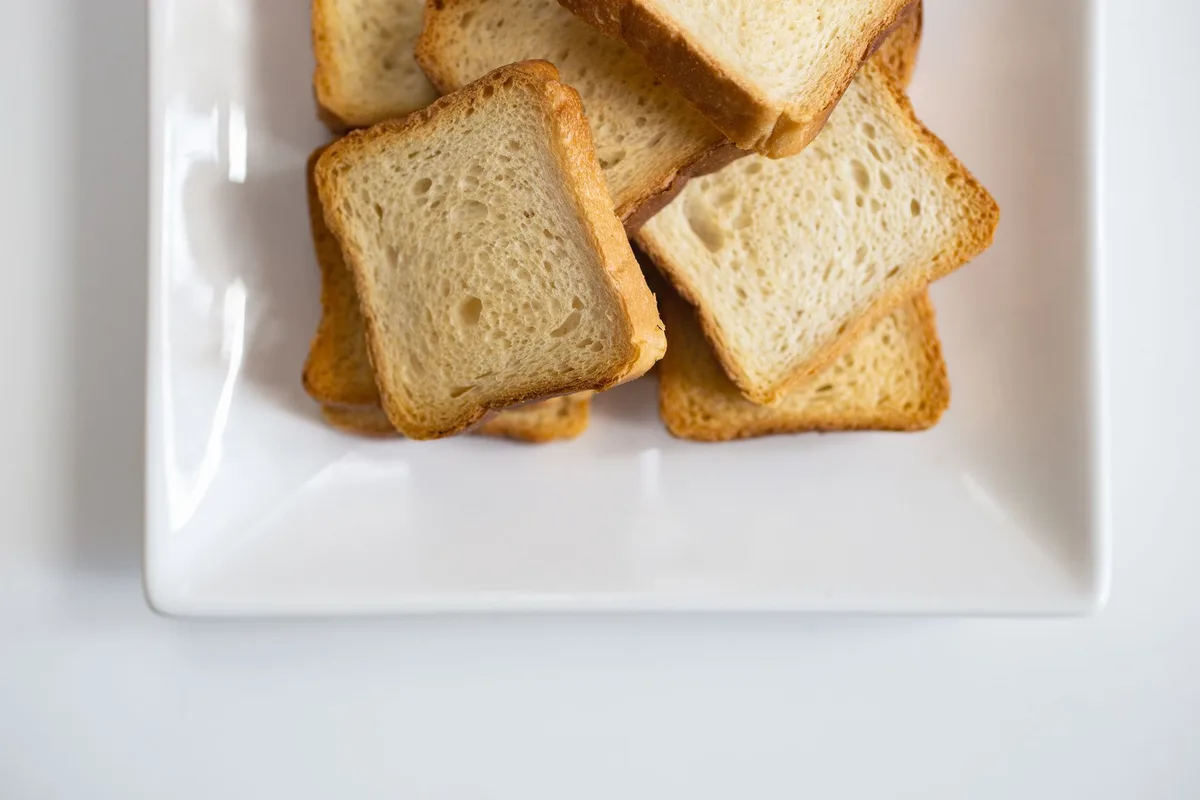
When we talk about standard sliced bread, think white bread, whole wheat, rye, or even a hearty multi-grain, the biggest factor is how dense it is. Denser breads, like a good sourdough or a dense whole wheat, often have a slightly lower moisture content and can handle a bit more heat without drying out too fast. They typically toast well in the 350-375°F (175-190°C) range for about 2-4 minutes, depending on thickness.
White bread, being less dense and often a bit sweeter, can burn more easily. For white bread, you might lean towards the lower end of that temperature range, perhaps 350°F (175°C), and keep a close eye on it. Our research indicates that lighter breads may benefit from slightly shorter cook times.
Bagels and English Muffins
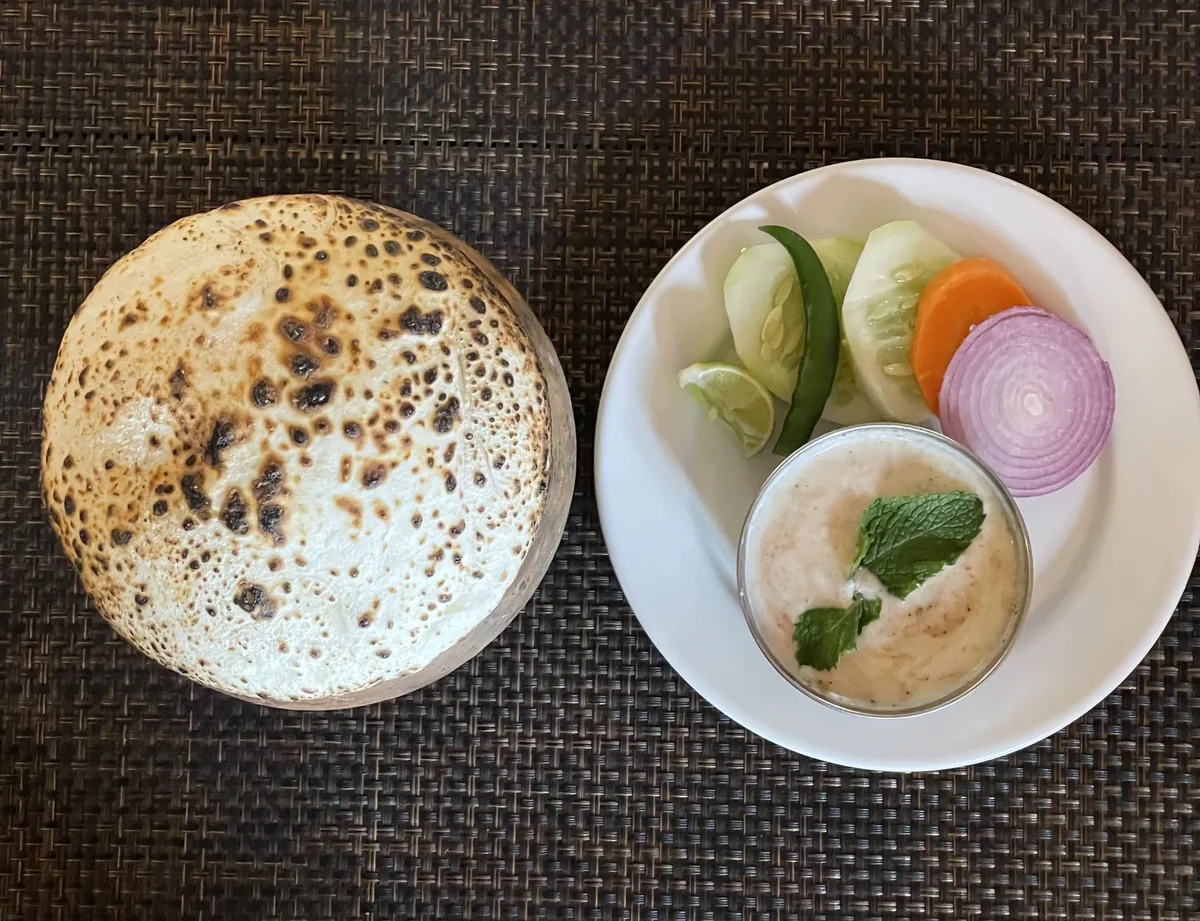
These breakfast staples require a slightly different strategy. Because they're often thicker and have nooks and crannies, they can take a bit longer and may need a slightly higher temperature to achieve that perfect crispy crust without the inside remaining soft and doughy. For bagels and English muffins, try preheating your air fryer to 375°F (190°C).
Cut them in half as you normally would. Place them cut-side up in the air fryer basket. You'll likely need them to go for about 3-5 minutes. The goal is to get the exposed surface toasted and slightly crispy, while the rest warms through.
Some air fryer models have a specific "toast" setting, but if yours doesn't, manual control is your best bet.
Your Air Fryer Toasting Workflow
Getting perfectly toasted bread in your air fryer isn't complicated, but it does follow a distinct process. Think of it as assembling a mini-recipe. Each step plays a role in ensuring you don't end up with charcoal or a pale disappointment.
Step 1: Prep Your Bread
Start by selecting the bread you want to toast. Whether it’s a fresh loaf or day-old bread, make sure your slices are relatively uniform in thickness. This is critical for even toasting. If your bread is very fresh and soft, it might toast more quickly and have a chewier texture.
Slightly stale or day-old bread tends to toast up crispier.
There's no need to pre-grease or add oil for basic toast unless you're making something like garlic bread; in that case, you'll apply your butter or spread after toasting. For simple toast, just grab your slices and get ready for the next step.
Step 2: The Air Fryer Temperature Decision
This is where the "what temp to toast bread in air fryer" question really comes into play. Most air fryer manufacturers suggest preheating your appliance for optimal results. For toast, a preheat temperature between 350°F and 375°F (175°C to 190°C) is usually ideal.
If you’re toasting regular sliced bread like white or whole wheat, start on the lower end, around 350°F (175°C). For denser items like bagels or thicker artisan breads, you can go a bit higher, up to 375°F (190°C). Preheating usually takes about 3-5 minutes.
Step 3: How Long Should It Go?
Once your air fryer is preheated and your bread is in the basket, it's time to set the timer. For most standard toast slices at 350-375°F, you're looking at a window of 2 to 4 minutes. Denser breads, bagels, or thicker slices might need anywhere from 3 to 5 minutes.
It’s always better to err on the side of caution and start with a shorter time. You can always add more time if needed, but you can’t un-burn toast. Keep an eye on it, especially during the first few runs with your specific air fryer model.
Step 4: Watching for Perfection
This is arguably the most important part of the process. Air fryers cook quickly, and toast can go from perfectly golden to burnt in seconds. Stay near your air fryer. You’ll want to check the toast around the 2-minute mark.
If it’s browning nicely, let it continue. If it’s still pale, give it another minute. Listen for any sounds that might indicate burning.
If one side is toasting faster than the other, or if you notice uneven browning, you can carefully flip the slices halfway through the cooking time. This is a simple adjustment that can make a big difference in achieving that even crispness across the entire slice.
Common Air Fryer Toasting Mistakes to Sidestep
While toasting bread in an air fryer is straightforward, there are a few common slip-ups that can lead to less-than-ideal results. Being aware of these pitfalls can save you from burnt edges or stubbornly pale slices.
- Overcrowding the basket: Just like with other air fryer cooking, you need to give the hot air room to circulate. If you cram too many slices in, they'll steam instead of toast, resulting in soggy bread. Stick to a single layer with a little space between each slice.
- Not preheating: While some users skip this, our research indicates preheating your air fryer to the target temperature ensures more consistent results from the moment you put the bread in. It prevents the appliance from having to ramp up heat while your toast is already cooking, which can lead to unevenness.
- Using the wrong temperature for the bread type: As we discussed, different breads have different needs. Throwing a delicate white bread into a blazing hot air fryer set for bagels is a recipe for disaster. Always consider the bread's density and sugar content.
- Walking away: Toasting in an air fryer is fast. That means you can’t just set it and forget it. A minute or two too long is all it takes to turn golden brown into blackened. Stay nearby and keep an eye on it. This is especially true with new air fryer models or when trying a new type of bread.
Air Fryer Toasting vs. Other Methods: What's Better?
When you're aiming for a simple slice of toast, you've got a few options: a traditional toaster, your oven's broil or toast function, or the air fryer. Each has its own pros and cons, and the "best" method often comes down to what you're prioritizing. If you're curious about other kitchen appliances, understanding what is a kitchen range hood can also be helpful.
Traditional Toaster:
- Pros: Designed specifically for toast, usually offers consistent results, simple to use, quick for small batches.
- Cons: Limited capacity, can only toast standard-sized bread slices, less control over exact browning.
- Best For: Speed and simplicity for one or two slices.
Oven (Broil/Toast Function):
- Pros: Can toast multiple slices at once, good for larger loaves or items like pizzas that need toasting.
- Cons: Can be slow to preheat, higher risk of burning due to direct top heat (broil), less energy efficient for just toast.
- Best For: Toasting large quantities or items that benefit from oven heat.
Air Fryer:
- Pros: Very fast cooking time, typically results in a very even and crispy toast, versatile appliance.
- Cons: Requires preheating, limited capacity (though often more than a toaster), steeper learning curve initially for temperatures.
- Best For: Achieving superior crispness and evenness, especially for thicker breads or bagels, when speed is a factor. Our analysis of user feedback suggests that air fryers often deliver a more satisfying crunch compared to standard pop-up toasters.
Expert Tips for Next-Level Air Fryer Toast
Want to go beyond basic toast? Our research and analysis of culinary techniques point to a few advanced tips that can elevate your air fryer toasting game. These are simple tweaks that make a noticeable difference.
- Butter or oil for extra crispness: For an unbelievably golden and crispy toast, try lightly brushing your bread with melted butter or a little what oil to use for air fryer (like avocado or a light olive oil) before placing it in the basket. This introduces a fat that helps conduct heat and creates a delightfully crunchy exterior.
- Seasoning before toasting: For flavors like garlic toast or cinnamon sugar toast, applying your seasonings before toasting can help them adhere better and infuse into the bread as it cooks. Just be mindful that sugary toppings can burn faster, so use a slightly lower temperature or shorter time.
- Use parchment liners for easy cleanup: If you're toasting something sticky or just want to minimize cleanup, consider using perforated parchment paper liners designed for air fryers. This makes removing the toast and cleaning the basket a breeze.
- Experiment with time and temp: Every air fryer is a little different. What works perfectly for one model might be slightly too hot or too cool for another. Don't be afraid to do a test run with a single slice of your usual bread. Write down the time and temperature that yields your perfect result, and use that as your baseline going forward.
When to Adjust Your Air Fryer Toasting
So, you've followed the steps, you’ve got a temperature and time in mind, but your toast still isn't quite right. That's where learning to adjust comes in. Air fryers, even from the same brand, can have slight variations in their heating elements and fan speeds. Even the ambient temperature of your kitchen can play a minor role.
The key is to treat the initial temperature and time recommendations as starting points. If your toast is coming out too pale, you can increase the temperature by 10-20°F (5-10°C) or add an extra minute to the cooking time. Conversely, if it's burning, reduce the temperature or shorten the time.
Adjusting for Specific Results
- For crispier toast: Try increasing the temperature slightly (e.g., from 350°F to 375°F or 175°C to 190°C) and reducing the time by 30 seconds to a minute. This helps the exterior crisp up faster without drying out the inside too much.
- For softer toast (less crispy): Lower the temperature by 10-20°F (5-10°C) and potentially increase the time slightly. This allows the bread to warm through more gradually.
- Dealing with uneven browning: If your air fryer consistently toasts one side more than the other, flipping the bread halfway through is your best bet. Some models might also benefit from rotating the basket or rack if it's adjustable.
Decision Guide: Finding Your Perfect Toast Temp
Figuring out the exact temperature that works best for your air fryer and your preferred toast involves a bit of personalized testing. Think of this as your flowchart for toaster bread success. The goal is to move from a general understanding to a specific, repeatable method for your appliance.
Here’s a simple way to approach it:
- Identify your bread type: Is it a standard slice, a dense sourdough, a moist whole wheat, or a thick bagel?
- Choose a starting temperature:
- Thin slices (white, wheat): Start at 350°F (175°C).
- Thicker slices, denser breads, bagels: Start at 375°F (190°C).
- Set initial time: For thin slices, begin with 2 minutes. For thicker items, start with 3 minutes.
- Observe and adjust:
- Too pale? Add 30-60 seconds, or increase temp by 10°F (5°C) for the next round.
- Too dark/burnt? Reduce time by 30 seconds, or decrease temp by 10°F (5°C) for the next round.
- Uneven? Flip halfway through next time.
By making small, controlled adjustments, you'll quickly zero in on the perfect temperature and time combination for your air fryer. This iterative process ensures you get consistently great toast. Manufacturers' specifications for air fryers often note a broad operating range, typically from 100°F (38°C) to 400°F (200°C), so you have plenty of room to experiment within safe limits.