
Cooking thin chicken breast in the air fryer takes about 8 to 12 minutes at 375°F, depending on the thickness. I've tested this method dozens of times in my own kitchen, and it's the fastest way to lock in juices while getting a beautiful golden crust. Thin cuts can go from perfectly tender to dry in under a minute, so getting the timing right is the real game-changer. If you've ever ended up with rubbery chicken, you're not alone — and the good news is, the air fryer practically eliminates that problem once you know the sweet spot.
What makes thin chicken breast tricky is how fast heat moves through it. Unlike a thick breast that gives you a margin of error, a thin cut is more like a sprint than a marathon. It goes from raw to overcooked in a flash. That's why air fryer chicken breast recipes are some of the most searched cooking topics online — people want juicy results without babysitting the stove. The air fryer's rapid hot air circulation mimics deep frying but uses little to no oil, which means you get that lightly crisped outside while keeping the inside moist.
When done right, thin chicken breast in the air fryer comes out tender, flavorful, and ready in under 15 minutes total. It works beautifully for meal prep, quick weeknight dinners, or even slicing over salads. In this guide, I'll walk you through exact cook times, temperatures, tips from my own trial-and-error, and the small adjustments that make a big difference.

What Counts as a "Thin" Chicken Breast
Before we talk cook time, it helps to define what we mean by thin. In most grocery stores, you'll find boneless skinless chicken breasts that vary widely in size. A thin chicken breast is usually about ¼ to ½ inch thick, often labeled as "thin-sliced" or "butterflied." Some people pound regular chicken breasts to an even thinness using a meat mallet, which is honestly my preferred method for consistent cooking.
Thickness is the single biggest factor in how long thin chicken breast takes in the air fryer. A ¼-inch cut may only need 6 to 8 minutes, while a ½-inch piece can stretch to 10 to 12 minutes. If you've ever had one part of your chicken dry out while another part looked underdone, thickness inconsistency is almost always the reason. Taking 30 seconds to pound the breast to an even level is one of the easiest upgrades you can make.
Another thing worth mentioning: thin-sliced chicken breast from the store is often sold pre-packaged and labeled accordingly. If you buy regular chicken breast, simply slice it horizontally to create two thin pieces, or butterfly it open. Both work beautifully in the air fryer.
Best Temperature for Thin Chicken Breast in the Air Fryer
Temperature matters just as much as time. For thin chicken breast, 375°F is the sweet spot. It's hot enough to sear the outside quickly and create a light crust, but not so hot that the outside burns before the inside cooks through. This is the temperature I use 90% of the time, and it's what most reliable air fryer chicken breast recipes recommend.
Some people go as high as 400°F for thicker cuts, but with thin chicken breast, that extra heat can lead to dryness. On the flip side, 350°F works too, but it takes longer and won't give you the same browning. Think of 375°F as the middle ground — fast enough for convenience, gentle enough to keep the meat juicy.
If your air fryer runs hot (some older models do), you may want to dial back to 360°F. Newer air fryers with digital controls tend to be more accurate, but it never hurts to check your chicken a minute or two early the first time. Every air fryer is a little different, and getting familiar with yours is part of the journey.
Exact Cook Times for Thin Chicken Breast in the Air Fryer
Here's a simple breakdown of how long to cook thin chicken breast in the air fryer based on thickness and temperature:
- ¼ inch thick at 375°F: 6 to 8 minutes
- ½ inch thick at 375°F: 9 to 12 minutes
- ¾ inch thick at 375°F: 12 to 14 minutes
- Frozen thin chicken breast at 375°F: 12 to 16 minutes
These are solid starting points, but always confirm doneness with a meat thermometer. The USDA recommends chicken reach an internal temperature of 165°F. I personally pull mine at 160°F and let it rest for a few minutes — the carryover heat will bring it to a safe 165°F without overcooking.
When you flip the chicken halfway through cooking, you'll get a more even browning on both sides. For thin cuts, one flip around the 4-minute mark is usually plenty. If you skip the flip, the bottom may get a deeper color than the top, but the chicken will still be safe to eat.

How to Prepare Thin Chicken Breast for the Air Fryer
A few small prep steps make a noticeable difference in flavor and texture. Here's my go-to method:
- Pat the chicken dry with paper towels to remove excess moisture.
- Lightly coat both sides with olive oil or avocado oil to help seasoning stick.
- Season simply with salt, pepper, garlic powder, and paprika, or use your favorite chicken seasoning blend.
- Preheat the air fryer for 2 to 3 minutes at 375°F before adding the chicken.
Preheating is one of those steps people often skip, but it really does matter. It gives the chicken a head start on browning the moment it hits the basket. I learned this the hard way after a few batches of pale, uneven chicken. Once I started preheating, the difference was night and day.
If you're working with frozen thin chicken breast, you can cook it straight from frozen. Just add 2 to 4 extra minutes to the cook time, and don't forget to season both sides before air frying. Frozen chicken tends to release more moisture, so a light spray of oil helps the outside crisp up instead of steaming.
Common Mistakes to Avoid When Cooking Thin Chicken Breast
Even with a forgiving appliance like the air fryer, a few common missteps can lead to less-than-perfect results. Here are the biggest ones I've seen (and made myself):
- Overcooking out of fear: Thin chicken cooks fast, and the biggest mistake is leaving it in too long. Always check at the earliest time in the range.
- Skipping the oil: A light coating of oil helps with browning and prevents sticking. Without it, the chicken can look dry and pale.
- Crowding the basket: Air needs to circulate around each piece. If you stack or overlap chicken, you'll get uneven cooking. Cook in batches if needed.
- Not using a thermometer: Visual cues can be misleading, especially with thin cuts. A quick-read thermometer takes the guesswork out.
I used to skip the thermometer and rely on the "cut it open to check" method, which actually releases juices and dries out the meat. Once I switched to a $15 instant-read thermometer, my chicken turned out way more consistent. It's one of the best small investments you can make for your kitchen.
Another tip: avoid using marinades with high sugar content (like BBQ or teriyaki) without a light oil coating. Sugar burns fast in the air fryer, and thin chicken breast has very little buffer before the outside goes from caramelized to charred. If you love sweet marinades, save them for the last 2 minutes of cooking or brush them on after.
Flavor Variations and Seasoning Ideas
One of the best parts about thin chicken breast in the air fryer is how well it takes on flavor. Because it cooks so quickly, you can change up the seasoning profile without a long wait. Here are a few combinations I rotate through:
- Lemon herb: Olive oil, lemon juice, garlic, thyme, and rosemary.
- Cajun: Paprika, cayenne, garlic powder, onion powder, and black pepper.
- Italian: Dried basil, oregano, garlic powder, and a pinch of parmesan.
- Tandoori: Yogurt, garam masala, turmeric, garlic, and ginger.
- Honey garlic: Light honey, minced garlic, soy sauce, and a splash of vinegar (added at the end).
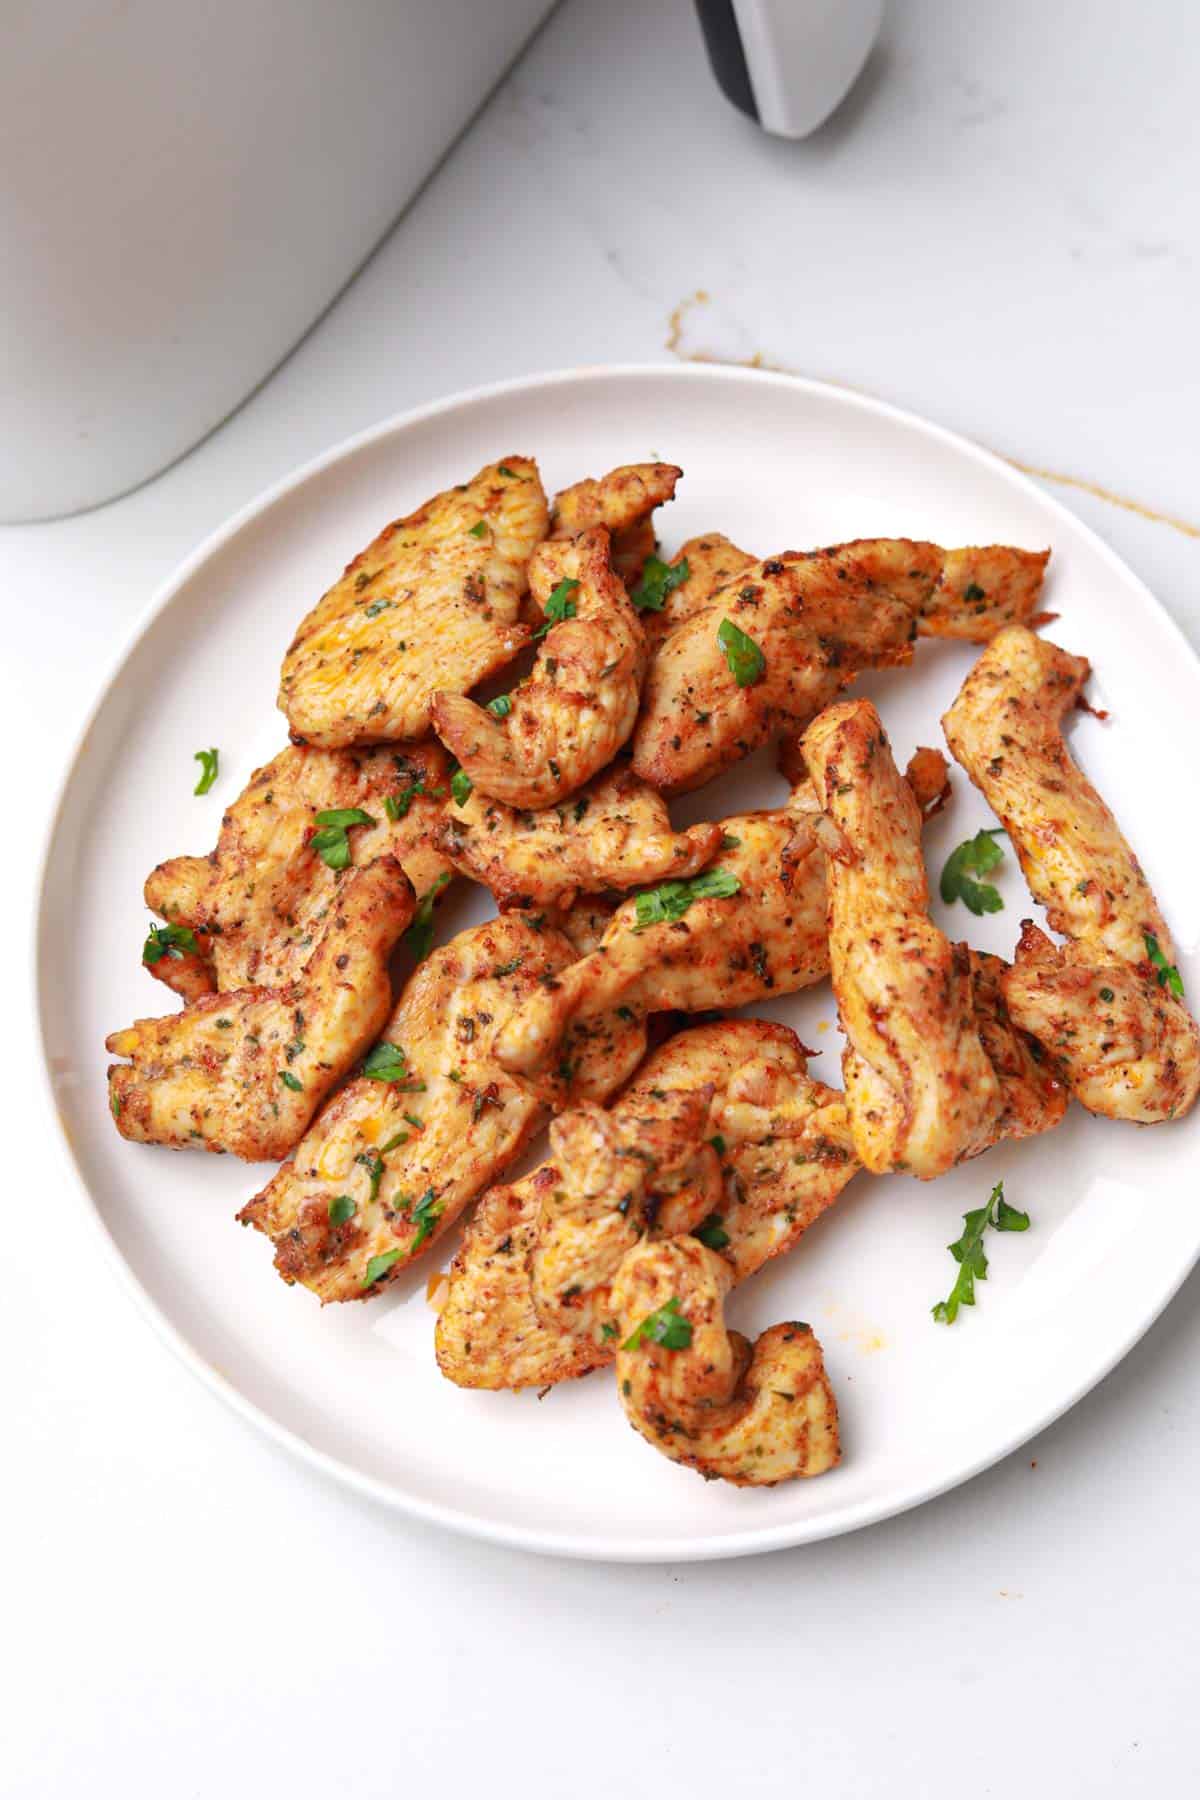
For meal prep, I often keep things simple with just salt, pepper, garlic powder, and a little smoked paprika. It pairs with almost anything — rice, salads, wraps, or roasted veggies. When I want to get fancy, a quick brush of melted butter and fresh herbs in the last minute of cooking adds a restaurant-style finish.
How to Tell When Thin Chicken Breast Is Done
The most reliable way is with an instant-read thermometer inserted into the thickest part. You're looking for 165°F. That said, there are visual cues that can help when you don't have a thermometer on hand:
- The chicken should be opaque all the way through, with no pink areas.
- The juices should run clear, not pink or reddish.
- The outside should have a light golden color.
If the chicken feels rubbery or squishy, it likely needs more time. If it feels firm and springs back slightly, it's done. Over time, you'll get a feel for it just by touching, but a thermometer always wins.
Resting is the final step many people forget. Let the chicken rest for 2 to 3 minutes after cooking. This allows the juices to redistribute instead of spilling out when you cut into it. I usually transfer the chicken to a plate and loosely tent it with foil while I prep the rest of the meal.
Storing and Reheating Air Fryer Chicken Breast
Thin chicken breast stores beautifully, which is one reason I love making a big batch on Sundays. Once cooled, place the chicken in an airtight container and refrigerate for up to 4 days. For longer storage, freeze it in a single layer on a baking sheet first, then transfer to a freezer bag. This prevents the pieces from sticking together and makes it easy to grab just what you need.
When reheating, the air fryer is honestly the best tool. A quick 2 to 3 minutes at 350°F brings the chicken back to life without drying it out. The microwave works in a pinch, but it tends to make the chicken rubbery. If you do use the microwave, add a small cup of water next to the chicken to keep moisture in the air.
I've used leftover air fryer chicken in wraps, grain bowls, pasta dishes, and even quick chicken salads. It's one of the most versatile proteins to have on hand, and knowing how to cook it well opens the door to so many easy meals.
Why the Air Fryer Is Perfect for Thin Chicken Breast
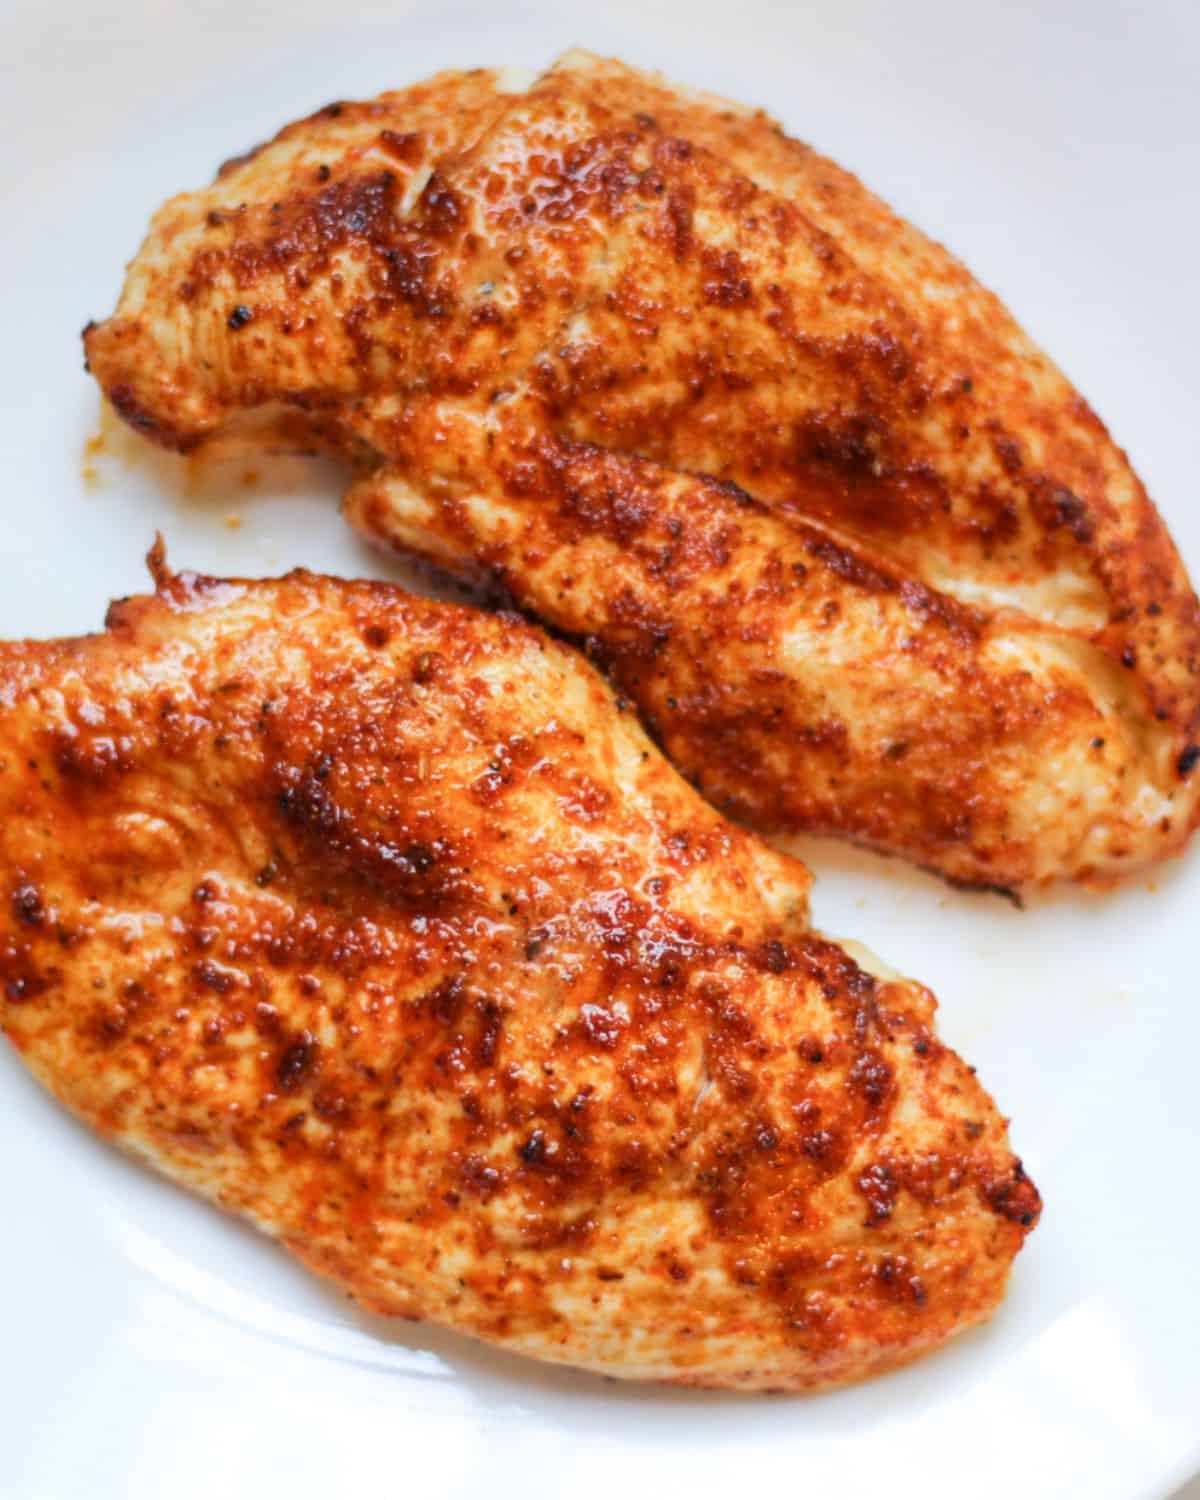
There's a reason thin chicken breast air fryer recipes have become a weeknight staple. The air fryer cooks from all sides at once, which means thin cuts — which are notoriously hard to cook evenly on a stovetop — turn out perfectly with minimal effort. You don't need to stand over a pan flipping pieces, and cleanup is as simple as rinsing the basket.
Compared to baking, which can take 20 to 25 minutes and often dries out thin cuts, the air fryer is faster and more reliable. Compared to pan-searing, it's more hands-off and uses less oil. For anyone trying to eat a bit healthier without sacrificing flavor, the air fryer strikes a near-perfect balance.
It's also incredibly beginner-friendly. If you're new to cooking chicken, the air fryer is a great place to start. The results are predictable, the margin of error is wider than you'd think, and the learning curve is short. Within two or three batches, you'll feel like you've been doing it for years.
Pro Tips From My Own Kitchen
After cooking thin chicken breast in the air fryer more times than I can count, here are a few tips I wish I'd known from the start:
- Pound the chicken to even thickness for the most consistent results.
- Always preheat the air fryer for 2 to 3 minutes.
- Use a light oil spray to help seasoning stick and improve browning.
- Flip once halfway through for even cooking.
- Pull the chicken at 160°F and let carryover heat bring it to 165°F.
- Let it rest for 2 to 3 minutes before slicing.
These small habits are the difference between "good enough" chicken and "wow, this is really good" chicken. I still remember my first batch of rubbery, overcooked thin chicken — and I remember the moment I finally nailed it. That moment made me fall in love with air fryer cooking all over again.
Frequently Asked Questions
Can I cook thin chicken breast from frozen in the air fryer?
Yes, you can cook thin chicken breast straight from frozen in the air fryer. Add about 2 to 4 extra minutes to the cook time, season both sides, and cook at 375°F until the internal temperature reaches 165°F. A light oil spray helps the outside brown instead of steam.
Do I need to flip thin chicken breast in the air fryer?
Flipping is recommended for even browning, but it's not strictly required. If you skip the flip, the bottom may be slightly more browned than the top. Flipping once around the halfway mark gives the most consistent results, especially for ½-inch cuts.
What temperature is best for thin chicken breast in the air fryer?
375°F is the ideal temperature for thin chicken breast in the air fryer. It cooks the chicken fast enough to stay juicy while creating a light golden crust. Higher temperatures can dry out thin cuts, while lower temperatures take longer and won't brown as well.
How do I keep thin chicken breast from drying out?
The best way to prevent dryness is to avoid overcooking. Use a meat thermometer, pull the chicken at 160°F, and let it rest for 2 to 3 minutes. A light coat of oil and not overcrowding the basket also help lock in moisture.
Can I stack thin chicken breast in the air fryer?
Stacking is not recommended, as it blocks airflow and leads to uneven cooking. Cook in a single layer for the best results, and work in batches if needed. Properly cooked thin chicken only takes about 10 minutes, so multiple batches are quick.
Conclusion
Cooking thin chicken breast in the air fryer is one of the easiest, fastest ways to get a juicy, flavorful protein on the table. With a cook time of just 8 to 12 minutes at 375°F, it's a true weeknight hero. The key is keeping an eye on thickness, using a light oil coating, seasoning well, and pulling the chicken at the right internal temperature. Once you get the hang of it, you'll find yourself reaching for the air fryer again and again.
I'd encourage you to try this method tonight with whatever seasoning blend you love most. Start with a simple salt, pepper, and garlic mix, and experiment from there. If you found this guide helpful, feel free to share it with a friend or leave a comment with your favorite air fryer chicken tips. Happy cooking!