
Figuring out what "broil" means on your air fryer can be a little confusing. It’s not a setting you see on every model, and when it is there, it's usually a high-heat, top-down cooking mode designed for quick browning and crisping, similar to a traditional oven’s broiler. Our research shows that understanding this function is key to unlocking more culinary possibilities with your appliance.
Unlike typical air frying, which relies on circulating hot air for even cooking, broiling in an air fryer focuses intense heat directly onto the food from above. Manufacturer specifications often highlight this capability for achieving a perfect sear or a golden crust on items like meats, vegetables, or even toasted bread.
What "Broiling" Actually Means in an Air Fryer
When a recipe calls for broiling or when your air fryer has a specific "broil" setting, it means the appliance is primarily using its top heating element at a very high temperature, often between 400°F and 500°F (200°C to 260°C). This intense, direct heat is designed to quickly brown, char, or crisp the surface of your food. Think of it as a mini, super-powered grill positioned directly above your ingredients.
This is different from the standard "air fry" setting, which typically uses both top and bottom heating elements to circulate air around the food for more even, all-over cooking. The broil function is all about speed and surface transformation, giving foods that desirable "just from the broiler" finish.
Why Seeing is Believing: Visual Cues for Air Fryer Broiling
Because broiling in an air fryer is all about surface appearance, color, char, and crispness, visual cues are your best guide. Relying solely on a timer can easily lead to food that’s either underdone or burnt to a crisp. You need to watch your food closely to know when it’s hit that perfect point.
The Golden Hue: What to Look For
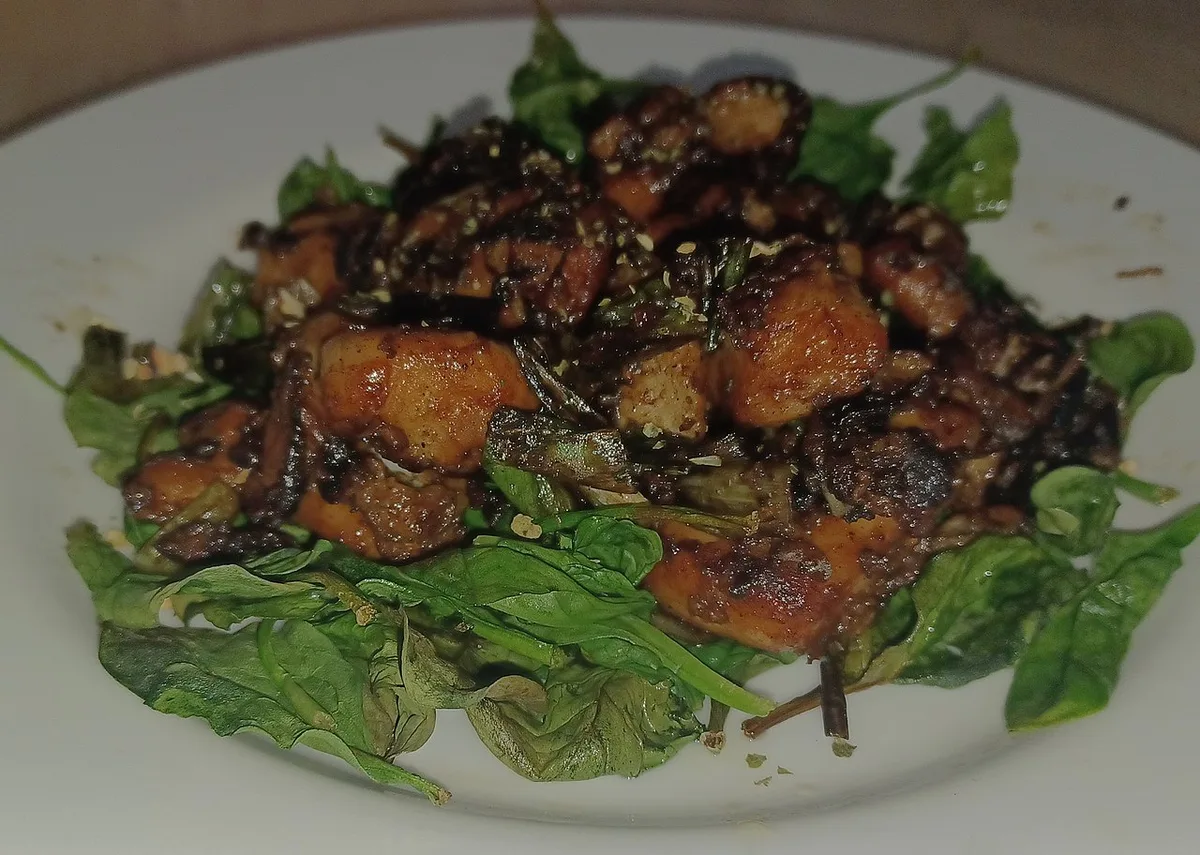
You're aiming for a beautiful, even golden-brown color across the surface of your food. For meats like chicken, this means a rich, appetizing tan that hints at a juicy interior. For vegetables, it's about developing those slightly caramelized, sweet edges. If you see uniform browning, that’s a good sign you're on the right track.
Charring vs. Burning: Spotting the Difference
A little bit of char is often desirable when broiling, adding a smoky depth of flavor. You’ll see small, dark spots that are slightly crispy. However, this is very different from burning, where the food turns black, bitter, and acrid. Learn to distinguish between a desirable char and the catastrophic outcome of being left in too long.
Perfect Placement: Rack Height Matters
The distance between your food and the top heating element is critical. Most air fryers with a broil function will have a specific rack position or tray setting for it. Placing your food too close means it will likely burn before it cooks through. Placing it too far away means you’ll only get weak browning, defeating the purpose of the broil setting.
General guidance often suggests placing food 4, 6 inches below the heat source for oven broiling, and you’ll want to approximate that in your air fryer, usually by using the lowest rack or designated broil tray.
Mastering the Broil Function: Step-by-Step Visual Guide
Using the broil function effectively in your air fryer boils down to careful preparation and vigilant monitoring. It’s less about setting it and forgetting it, and more about active cooking.
Preheating for Success
Just like with oven broiling, preheating your air fryer is crucial. This ensures the top heating element reaches its maximum temperature before your food goes in, providing that immediate burst of heat needed for quick searing and browning. Check your air fryer's manual, but most models suggest preheating for 3, 5 minutes on the broil setting.
Food Prep and Arrangement
Ensure your food is prepped and seasoned as your recipe directs. For broiling, it’s best to cut thicker items into smaller, flatter pieces or ensure they are evenly coated in oil or marinade. Arrange food in a single layer on the air fryer basket or tray, making sure pieces aren't overlapping. This allows the intense heat to reach all surfaces for even browning.
If you’re cooking something that might drip a lot, like fatty meats, consider using a tray with holes or a rack that allows grease to fall away, preventing flare-ups.
Monitoring and Adjusting Heat
This is where visual cues become paramount. You’ll want to stay nearby and peek into the air fryer every minute or two. If one side is browning too quickly, rotate the food or the entire basket. If things are looking a bit too intense, you might need to briefly pause the air fryer or even pull the basket out for a few seconds.
Knowing When It's Done
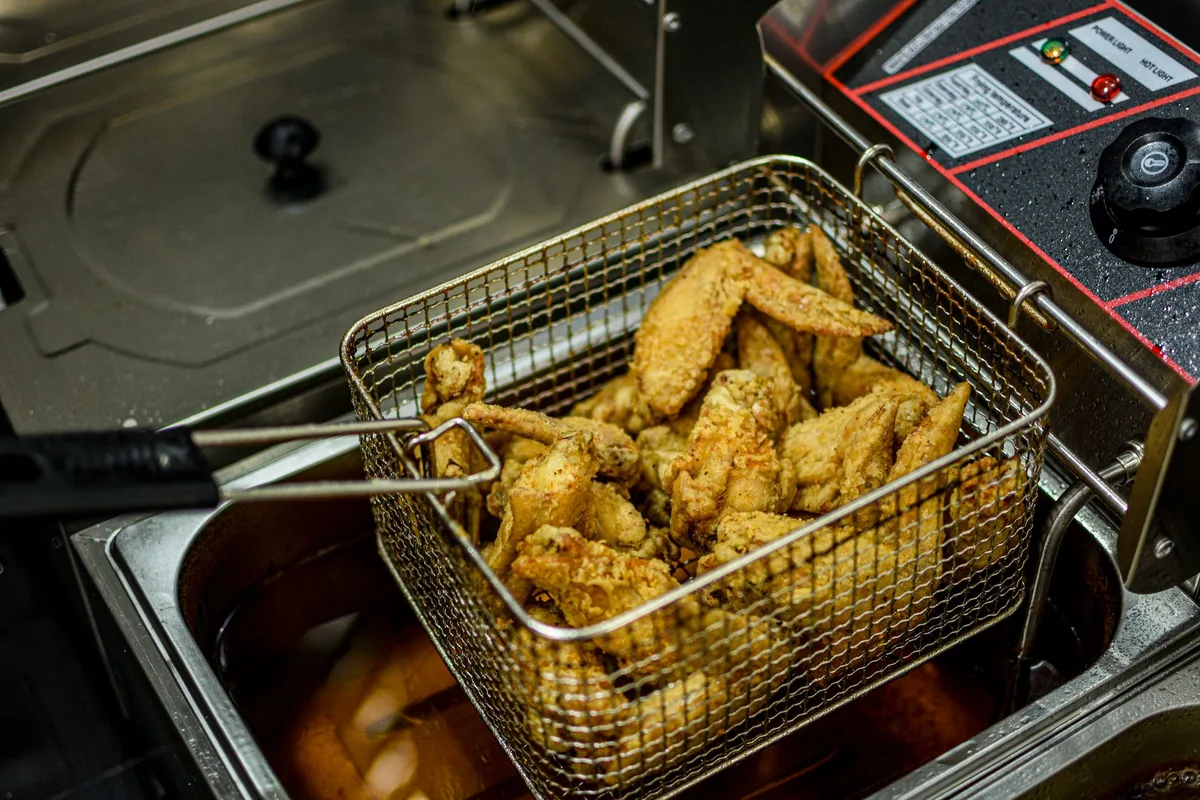
For most items, broiling is a finishing step, not a full cooking method. A steak might be nicely seared on the outside but still needs to cook to your desired internal temperature (this often requires a separate cooking stage at a lower temp, or using a meat thermometer). Chicken wings might be crisped and browned, though still need to be cooked through to a safe internal temperature of 165°F (74°C). Toasting bread or melting cheese on top of something are classic examples where broiling is the only cooking step needed.
Common Pitfalls: Sabotaging Your Air Fryer Broil
Even with the best intentions, it's easy to run into trouble when broiling in an air fryer. These common mistakes can quickly turn a promising meal into a kitchen disaster.
The Overcooked Food Trap
This is the most frequent issue. Because the broil setting is so intense and fast, food can go from perfectly browned to completely burnt in a matter of seconds. This often happens if you walk away for too long, misjudge the cooking time, or have the food placed too close to the top element.
Aggregate user reviews indicate that new users often underestimate how quickly their food will cook, leading to a charred exterior and perhaps an undercooked interior. For reference, a standard oven broiler can cook a piece of fish in 5, 10 minutes, and an air fryer's concentrated heat can often achieve similar results even faster.
The Uneven Browning Blunder
If the food is not arranged in a single layer or if the air fryer's heating element is not perfectly centered, you can end up with a food item that's browned on one side and pale on the other. This is why rotating your food or the basket halfway through is often recommended, even for short broiling times.
Smoke Signals: When It Goes Wrong
Excessive smoke during broiling usually means one of two things: either food particles have fallen into the heating element and are burning, or there's too much grease from fatty foods dripping down and igniting. This is a clear signal to stop the process, unplug the appliance, let it cool, and clean it thoroughly. For many models, using a dishwasher-safe accessory like a drip tray, or ensuring food is not over-laden, helps prevent this.
When to Reach for the Air Fryer's Broil Setting
The broil function isn't meant for everything, but it shines in specific situations where a quick, intense blast of heat from above is exactly what your dish needs. It’s your go-to for achieving that restaurant-quality finish on certain foods.
Think of it for things like getting a beautiful golden crust on mac and cheese or gratins. It's perfect for quickly searing kebabs or marinating steaks just before serving to add that final touch of char. Toasting bread slices or making garlic bread also falls into this category, where intense, direct heat is key. Even simple things like melting cheese on toast or finishing stuffed mushrooms benefit immensely from this setting.
Basically, if you want a rapid browning or crisping effect on the top of food that’s already cooked or doesn't require extensive internal heat, the broil setting is your best bet. It's a powerful tool for enhancing texture and visual appeal in minutes.
Crispy Skin and Speedy Meals: The Perks of Air Fryer Broiling
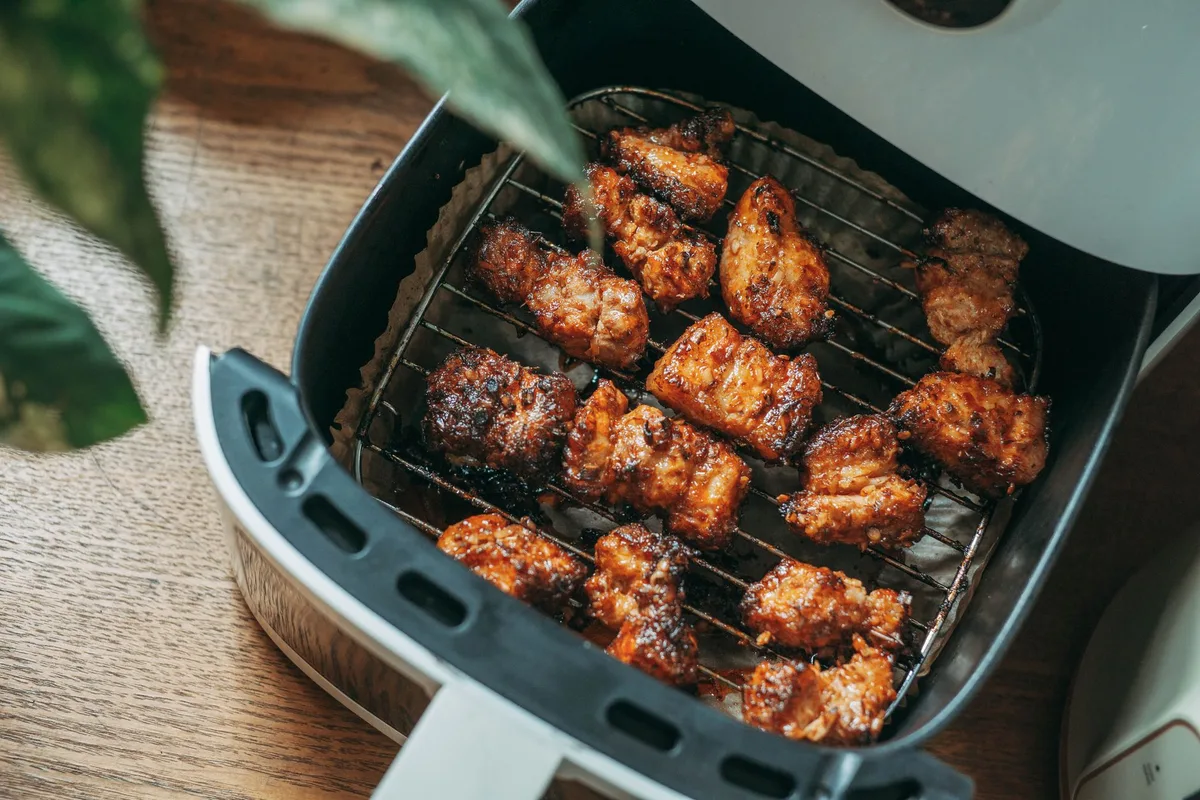
When you tap into your air fryer's broil function, you're unlocking a shortcut to delicious textures and quick meal prep. The primary advantage is that signature crispiness. This high-heat, direct-heat method is fantastic for achieving that satisfying crunch on chicken skin, vegetables, or even pizza crusts in a fraction of the time it might take in a conventional oven.
Beyond texture, speed is a major win. Because the heat is so concentrated and intense, broiling can significantly cut down cooking times for certain dishes or finishing steps. This is a lifesaver on busy weeknights when you want a restaurant-quality result without spending hours in the kitchen. It's also incredibly energy-efficient for smaller tasks compared to heating up a large oven.
Expert Insights for Perfect Air Fryer Broiling
Drawing from extensive user feedback and manufacturer guidelines, a few key pieces of advice consistently emerge for maximizing your air fryer's broil performance. The first is to always read your specific model's manual. Air fryer designs vary, and what works for one might need slight adjustments for another.
Pay close attention to your appliance's wattage and heating element placement. Higher wattage models (typically 1500W or more) will generally achieve higher temperatures faster, and element placement dictates how evenly the heat is distributed. As of 2026, most modern air fryers with a broil function are engineered for efficiency, but understanding your unit's quirks is essential.
Here are some practical tips:
- Know Your Temps: If your air fryer doesn't have a specific broil setting, you can often achieve a similar effect by selecting the highest temperature setting (usually around 400°F/200°C or higher) and using the accessory tray that positions food closest to the top element.
- Oil Sparingly: While a little oil can help with browning, too much can cause excessive smoke and greasy buildup. Aim for a light coating or a spritz.
- Watch for Drippings: Fatty foods can cause smoke. If your air fryer has a removable drip tray, ensure it’s in place. For those that don't, closely monitor any grease accumulation.
- Batch Cooking: For larger items or multiple servings, it’s often better to cook in batches. Overcrowding the basket or tray disrupts airflow and heat distribution, leading to uneven results.
Quick Checks: Ensuring Safe and Delicious Results
Safety and quality go hand-in-hand when using any cooking appliance, and the broil function in an air fryer is no exception. Before you even plug it in, a few simple checks can prevent mishaps and ensure your food turns out just right.
Is the Air Fryer Clean?
Smoke is often a sign of grease or food debris burning on the heating elements or in the basket. Before you start, ensure your air fryer is clean. Wipe down the interior, the basket, and any trays. Regularly cleaning your appliance, as recommended by most manufacturers, not only prevents smoke but also prolongs its lifespan.
For instance, residue buildup can sometimes affect the appliance's thermostatic control.
Is the Food Positioned Correctly?
As we touched on earlier, the distance between the food and the top heating element is critical. If your air fryer has a specific broil rack or tray, use it. If not, place your food on the lowest possible rack or ensure there’s ample space between the food and the heating element to avoid immediate burning. This is particularly important for items that cook quickly, like fish fillets or thin cuts of meat.
Are You Ready to Monitor?
Broiling is not a "set it and forget it" operation. You need to be present and attentive, especially when using the high-heat broil setting. Have your tongs or spatula ready to flip or remove food as soon as it reaches the desired doneness or color. This vigilant approach is the best defense against burning.
It’s a hands-on cooking method that requires your attention.
What Can You Cook Using the Broil Function?
The air fryer’s broil setting is surprisingly versatile, excelling at tasks where rapid, high-heat surface treatment is beneficial. It’s not meant for cooking thick cuts of meat all the way through, but it's fantastic for finishing, browning, and crisping.
Consider these use cases:
- Finishing Touches: Melting cheese on nachos, casseroles, or open-faced sandwiches. Achieving a golden crust on desserts like crème brûlée (though specialized tools are often better for that).
- Quick Browning: Searing vegetable slices like zucchini or bell peppers for a slight char. Toasting bread for bruschetta or croutons. Giving a golden hue to chicken wings or drumettes that have already been cooked through.
- Small Batch Cooking: Cooking fish fillets or thin shrimp that benefit from rapid searing. Making quick, open-faced melts or mini pizzas.
Essentially, if you want to add a desirable crisp or char quickly to the top of food that’s already cooked or doesn't require extensive internal heat, the broil function is your best bet.
How to Adjust for Different Foods
Since the broil function is so intense, knowing how to adjust your technique for different types of food is key to success. It’s not a one-size-fits-all approach.
Meats and Poultry
For thinner cuts of meat like flank steak or pork chops, broiling can provide a great sear. However, ensure the meat is not too thick, or it will burn on the outside before cooking through. For chicken, a quick broil can crisp up the skin beautifully after it's been fully cooked by baking or air frying at a lower temperature. Always use a meat thermometer to confirm safe internal temperatures, typically 165°F (74°C) for poultry and pork, and 145°F (63°C) for beef and lamb, following USDA guidelines.
Vegetables
Most vegetables benefit from a little charring. Sliced onions, bell peppers, zucchini, asparagus, or even cherry tomatoes can be tossed with a little oil and seasoning and then broiled for a few minutes until tender-crisp with blackened edges. Be mindful of vegetables with higher water content, as they can steam more than broil if they are too close together.
Seafood
Fish fillets, like salmon or tilapia, cook very quickly under the broiler. Aim for just a few minutes per side until the fish flakes easily with a fork. Shrimp also cooks in a flash, often in just 2, 4 minutes, so watch them closely to prevent them from becoming tough and rubbery.